02. IAM Account
02. IAM Account
IAM
Prerequisites
1. IAM (Identity and Access Management)
IAM is one of the most critical services in AWS. When you first create an AWS account, you get a root account.
This account:
- Has full administrative access
- Can control billing
- Has no restrictions
👉 Problem:
Using root account for daily work is extremely risky
2. Account
2-1. Root Account
The root account has full access to all resources. If the account is compromised (e.g., hacked), attackers can freely use AWS services. Since AWS follows a pay-as-you-go model, this can result in significant unexpected costs.
Avoid Daily Use
Root account characteristics:
- Created with email + password
- Unlimited permissions
- Cannot be restricted by IAM
Risks
- Accidental resource deletion
- Full account compromise if leaked
- Uncontrolled billing
👉 Best practice:
Use root account only for initial setup and emergency cases
2-2. IAM Users
IAM User represents a specific identity Policy defines permissions using JSON.
Examples:
- Developer
- Admin
- CI/CD system
Each user has:
- Login credentials (password / access key)
- Permissions via policies
Example: Allow listing S3 buckets
1
2
3
4
5
{
  "Effect": "Allow",
  "Action": "s3:ListBucket",
  "Resource": "*"
}
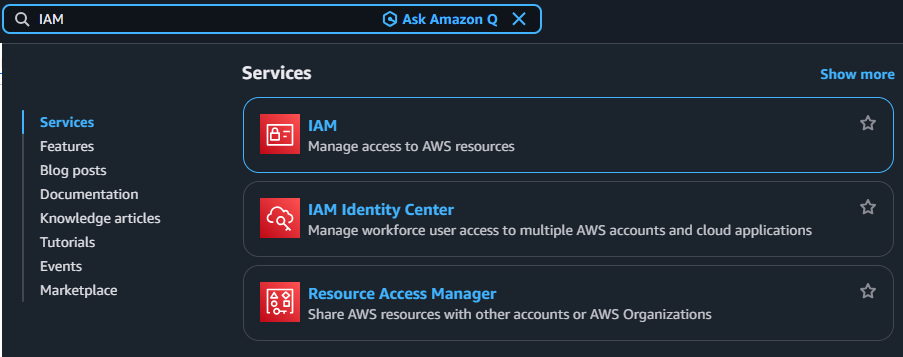
3. How to create IAM
3-1. Search IAM
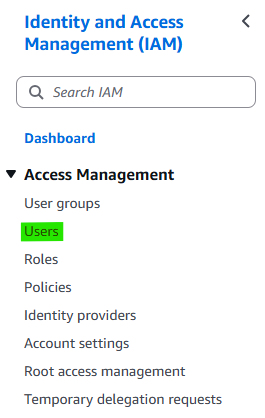
3-2. Click Navigation pane → “Users”
3-3. Click Button → “Create User”

3-4. Step 1. Specify user details
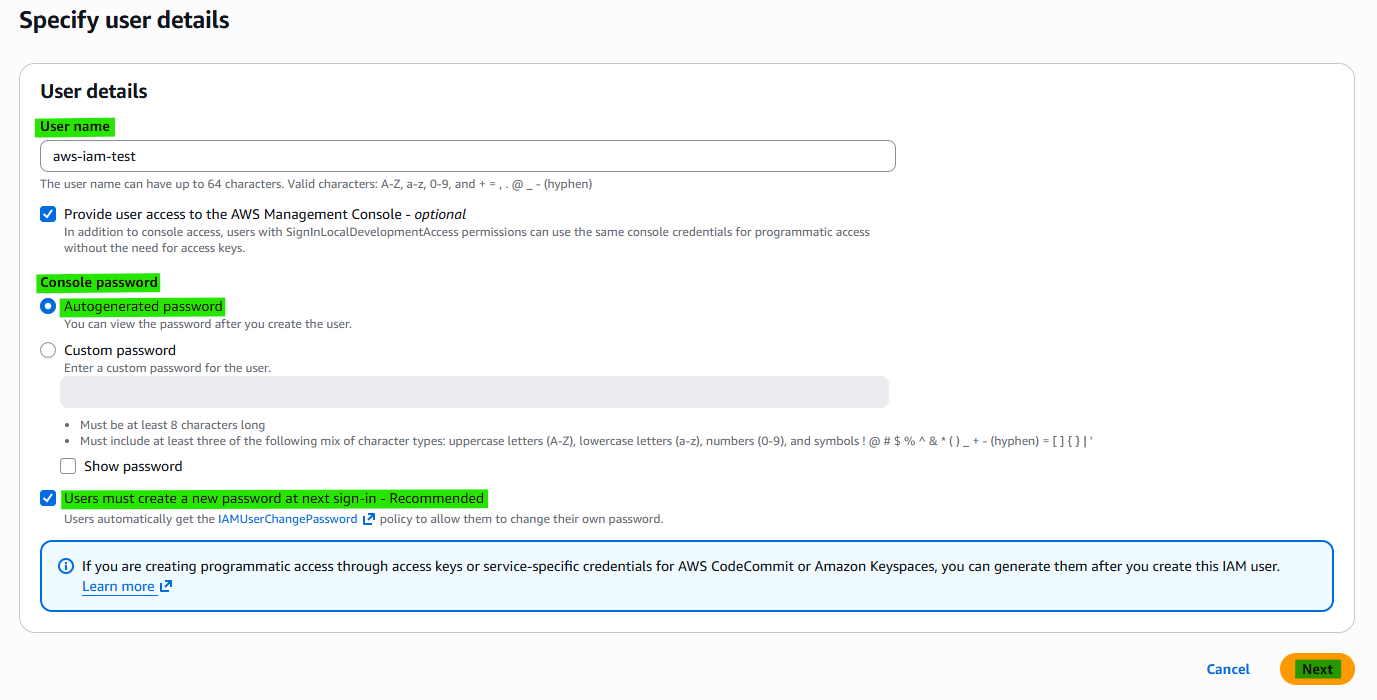
Detail:
- User name:
- IAM user ID
- Provide user access to the AWS Management Console - optional
- Console password
- Autogenerated password : Automatically create temporary password
- Users must create a new password at next sign-in - Recommended : Literally
- Console password
3-5. Step 2. Set permissions
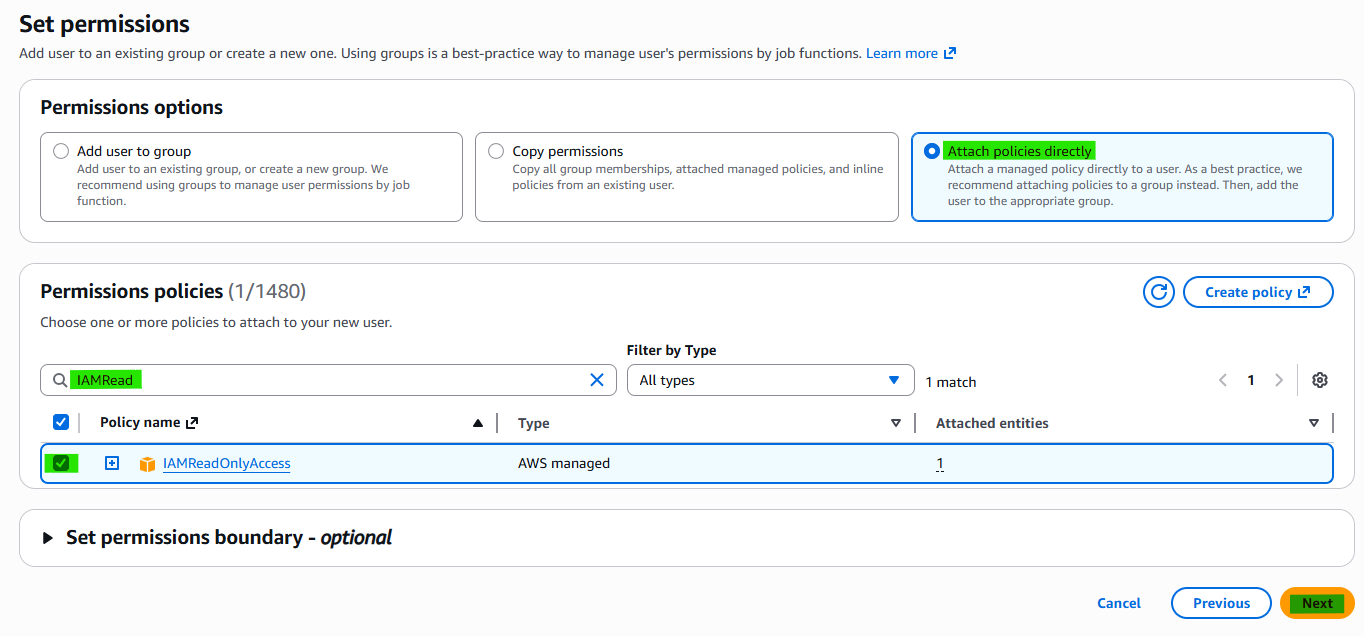
Detail:
- Permissions options
- Attach policies directly
- Permissions policies
- Search policy name
3-6. Step 3. Review and create

3-7. Step 4. Retrieve password
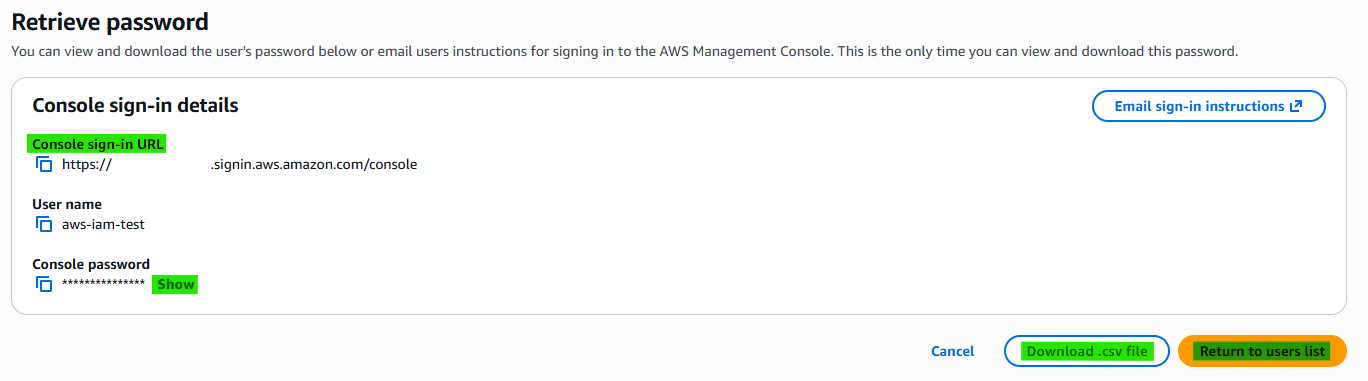
Detail:
- Console sign-in details
- Console sign-in URL : Address of URL
- User name
- Console password
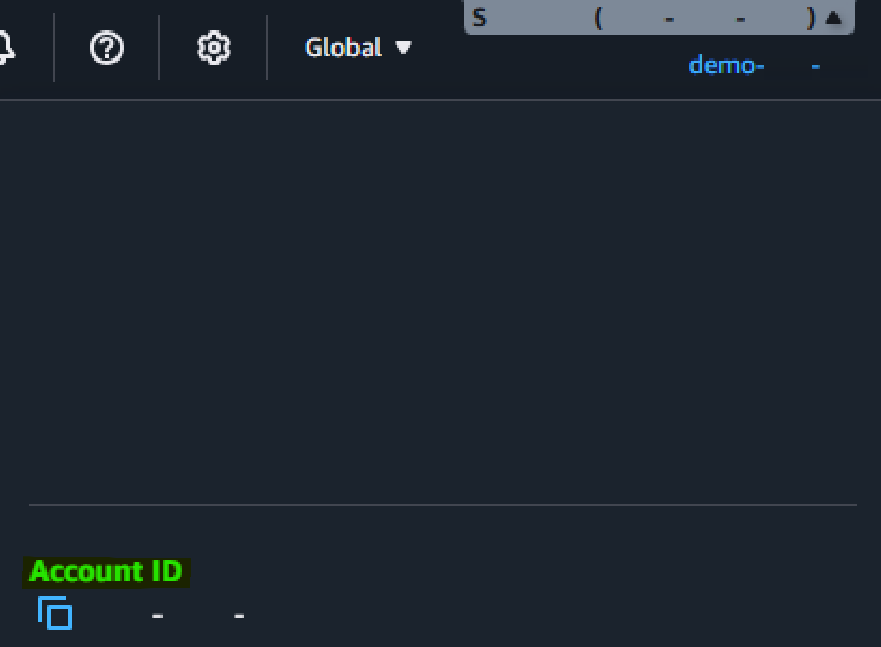
- Account ID
3-8. Confirm New IAM

3-9. Confirm New IAM

- Fill in the blanks of required information.
- Account ID
- IAM username
- Password
3-10. Change password
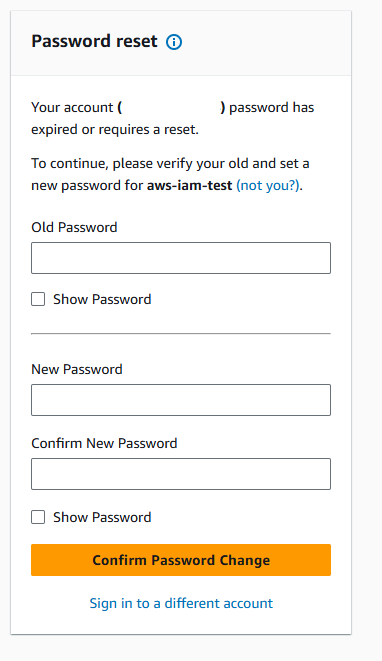
3-11. Finish creating IAM

This post is licensed under CC BY 4.0 by the author.